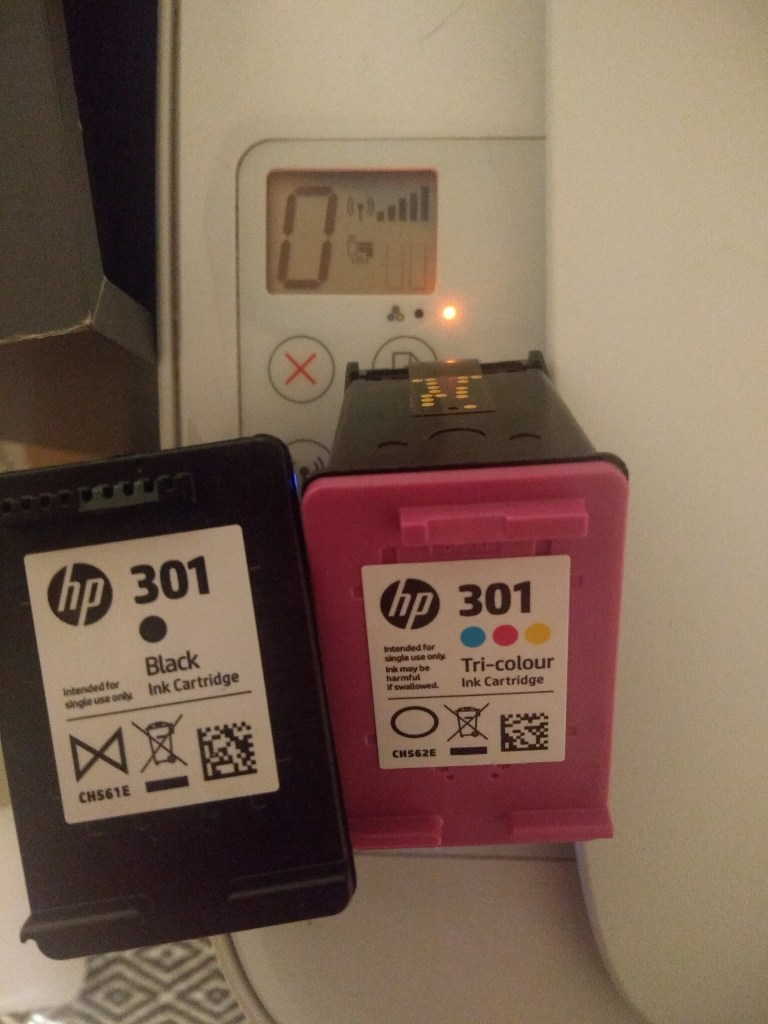
as i write this at 4:35am 29/04 my printer is out of ink and i have ordered the wrong cartilage to change it, i needed a 302, i ordered a 301. this seems like a small difference but one that is pissing me off because it doesnt work and wont let me print my work. because of this i will have to use photo approximations of what my work should look like rather than having a physical copy to present.
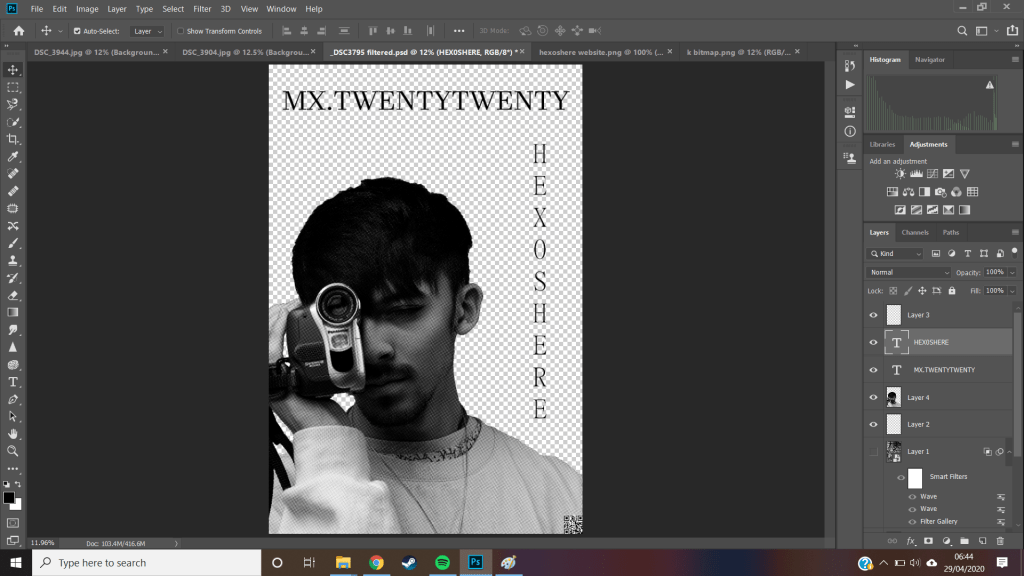
this process would have been a lot easier to display and put together as my multi layer physical object rather than recreating it through photoshop showing different layer
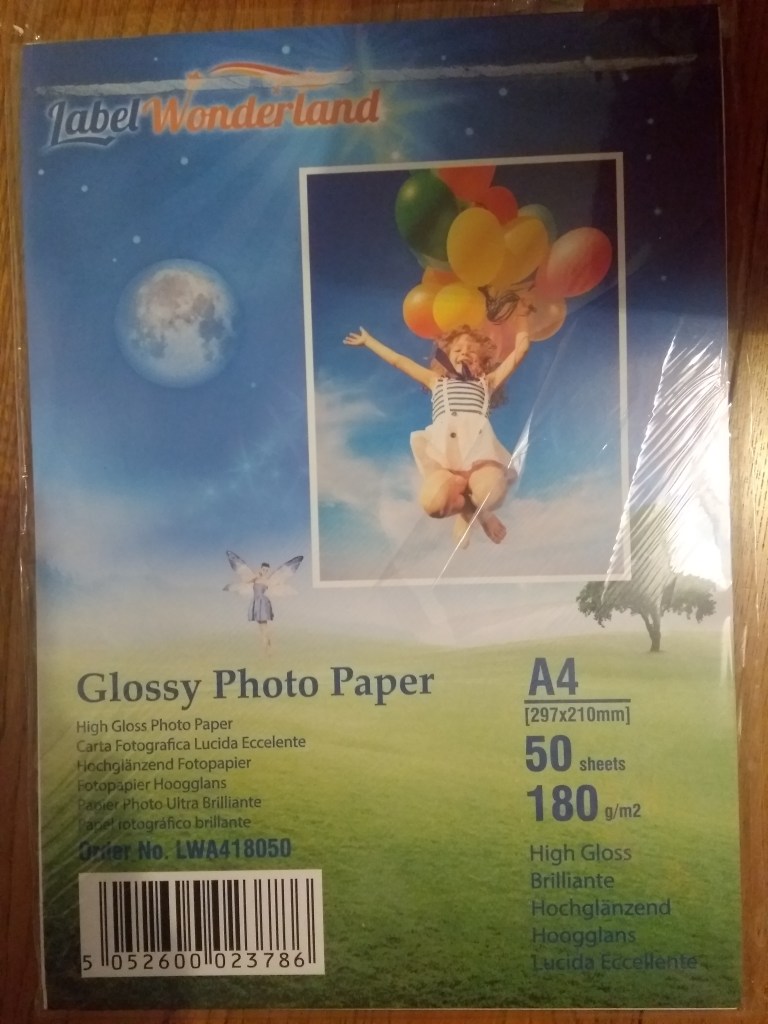
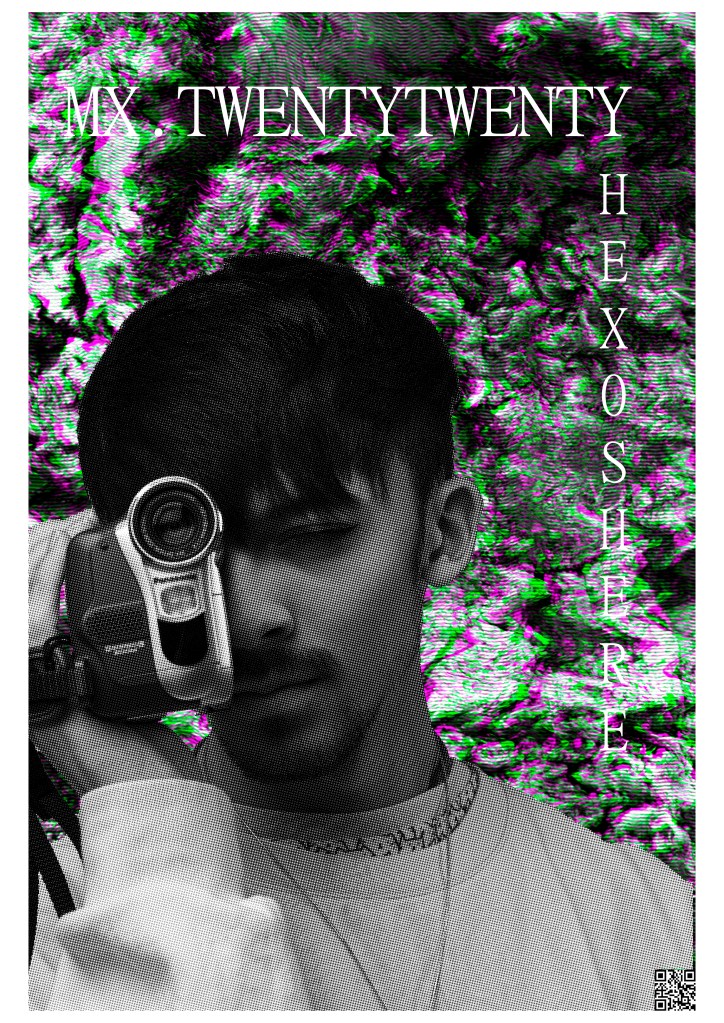
before this took place, i ordered supplies online to print my work from amazon. my idea is to produce a dual layer poster combining all of the things ive learnt during this project. i hope to print a background base image onto the gloss paper and have a transparent overlay of thom, coupled with text and a qr code to suit
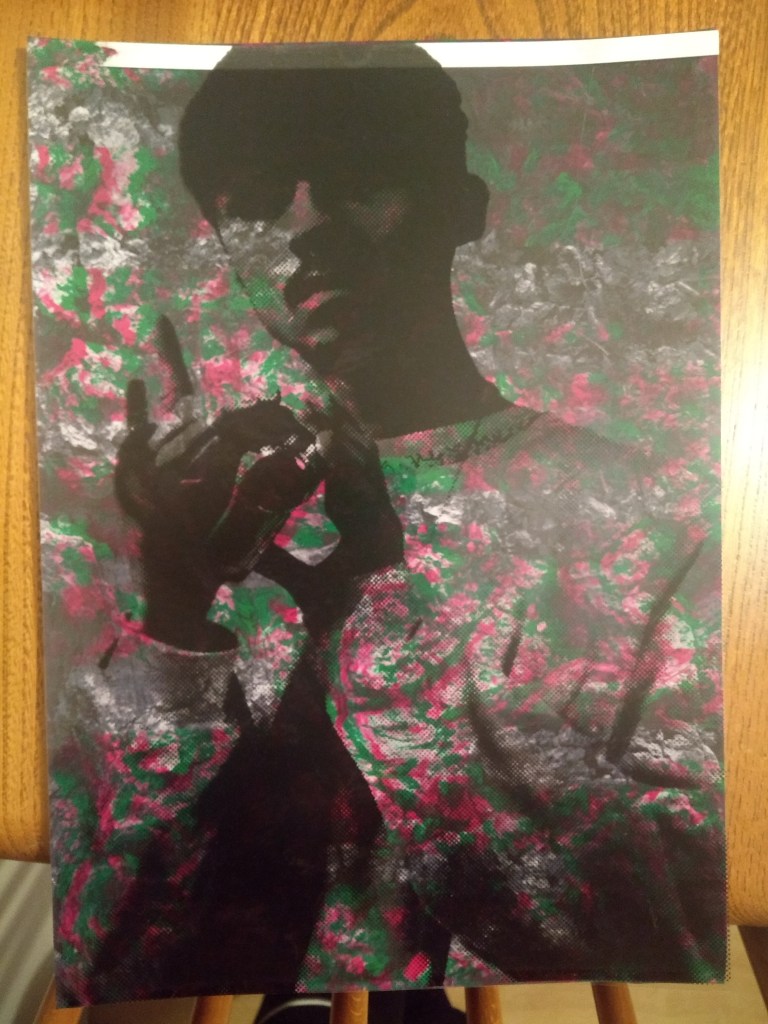
before running out of ink i was able to produce a lower quality piece but i feel it well precedents the concept for my final idea, minus text and qr code however ignoring the color as my printer at home isnt able to produce the same quality as the inkjects at uni.
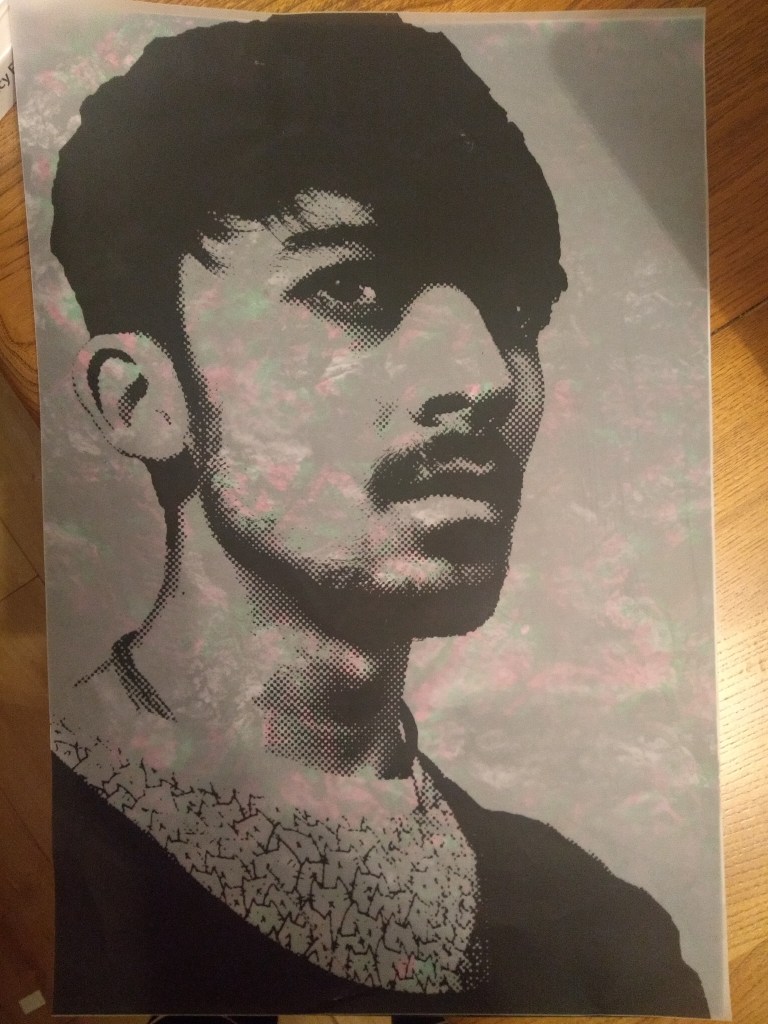
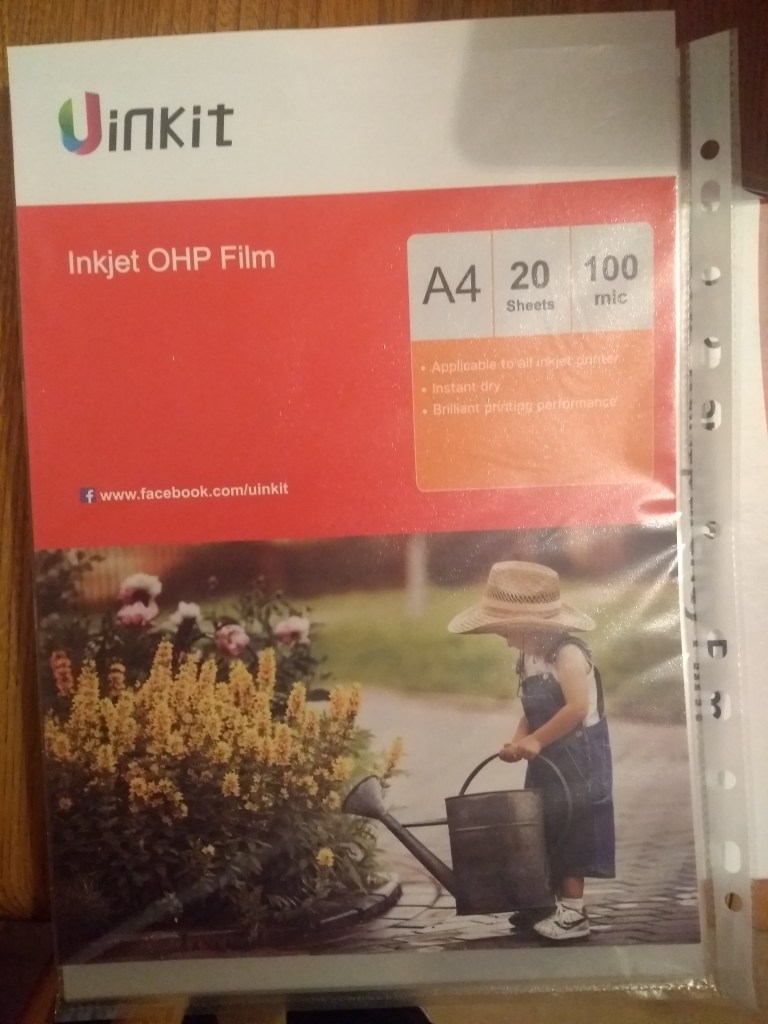
before leaving uni i also played around with the transparency of my images by creating an a3 print sheet of thom on acetate while screen printing, i layered this over one of my glitched background textures and liked where it was going however the acetate was too opaque for the background to shine through, this is where my OHP film came in handy
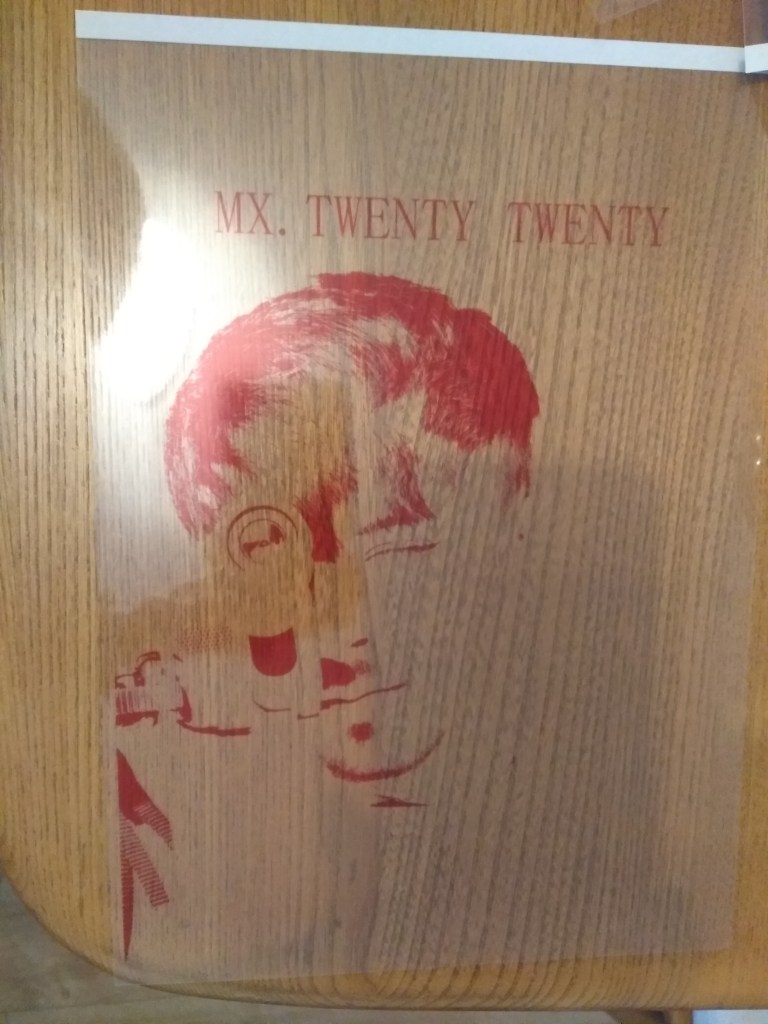
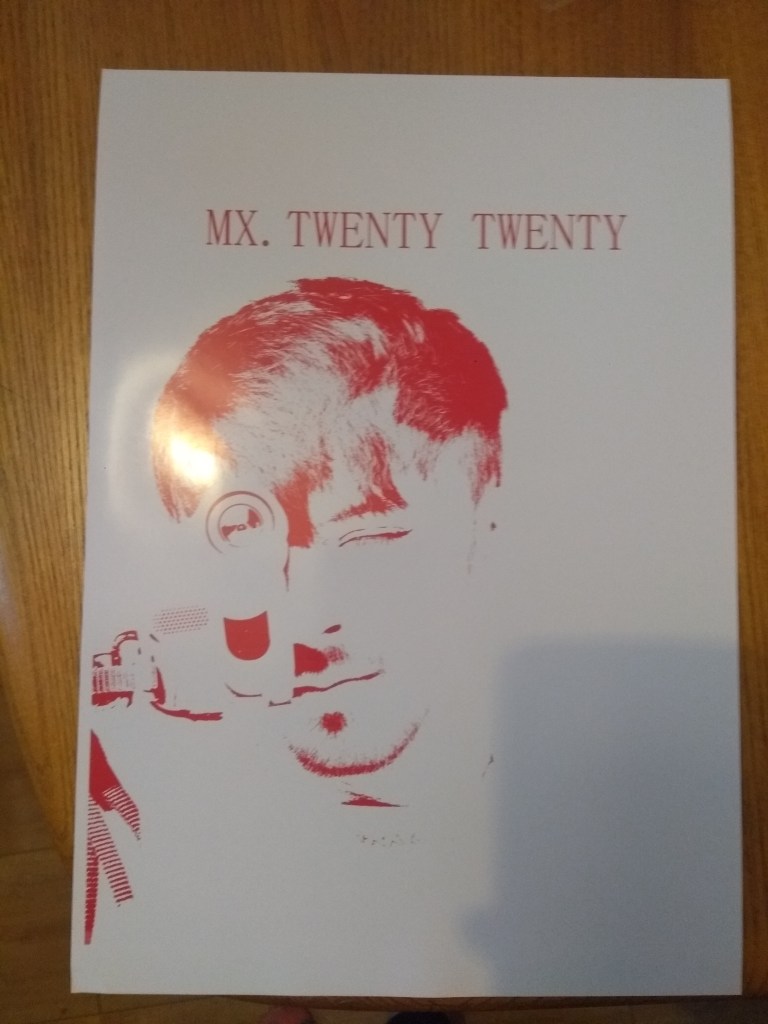
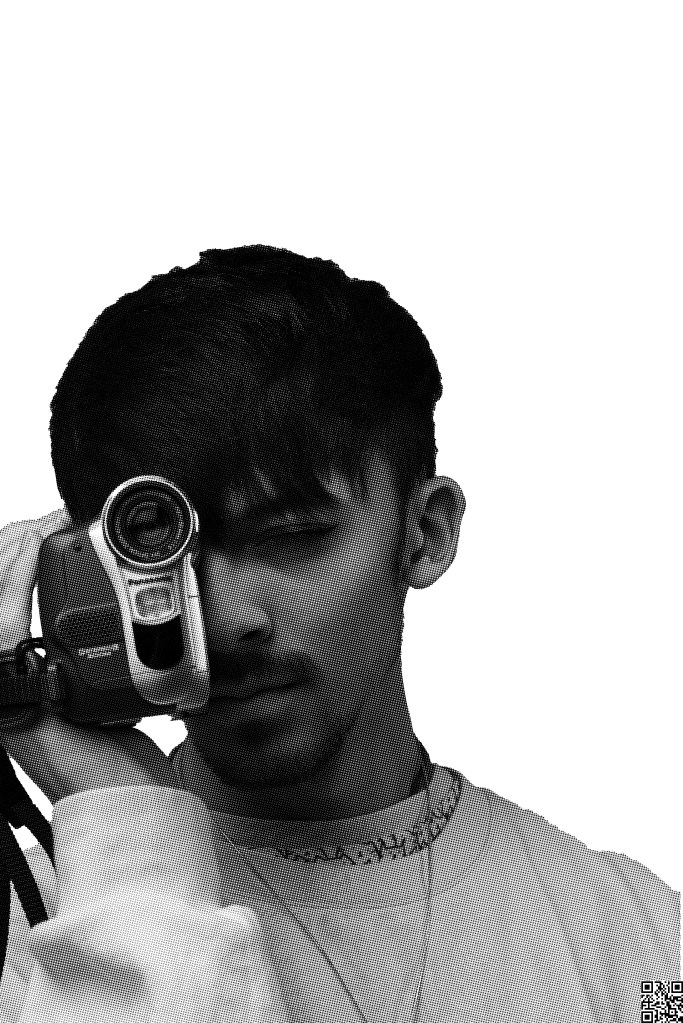
here is two of my samples testing out the products i bought with an poster made earlier, i was happy with this bench mark, this is also the same image i want to use for the transparent film
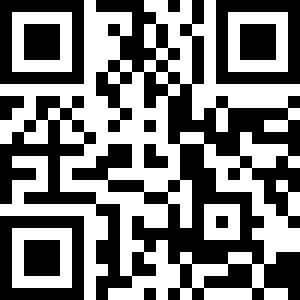
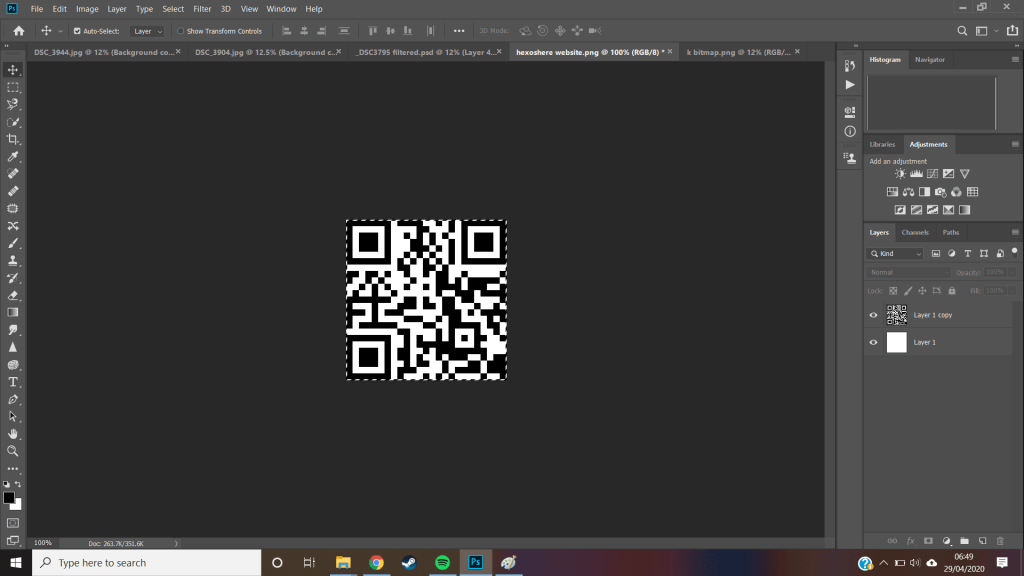
knowing i wanted a qr code, and dual layers i decided to separate the black from the white to make it more visually interesting as a small detail, to do this i took the code and seperated the layers with the magic wand tool and made two layers for the white and black respectively. the black part would fit on the transparent film where as the white would just be a small blank square on the bottom right of the poster.

<texture>
< CYMK Printing >
< 02.03.20 >
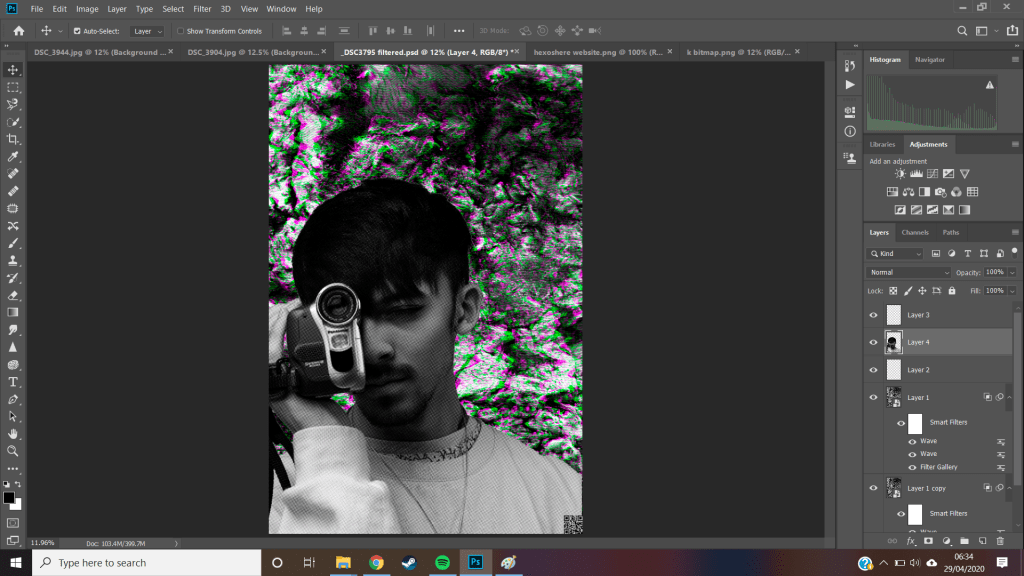
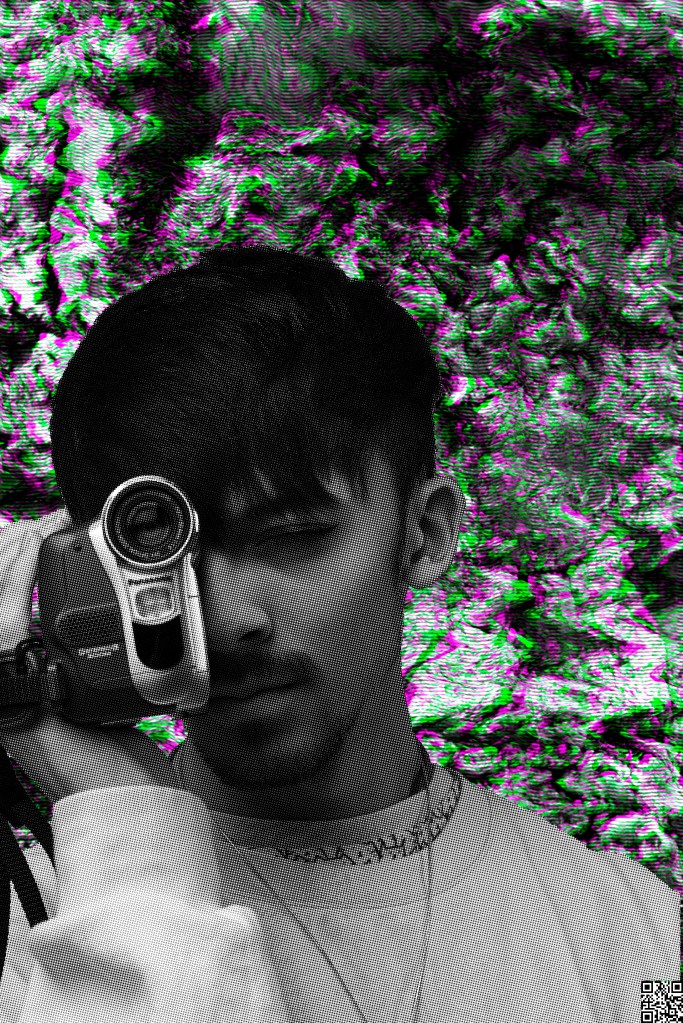
adding them together you can begin to see how they might work together, along with all the layering done in photoshop to create these two images, ive intentionally left out any text in from photoshop as it uses pixels to generate its images which could fuzz the lettering, there are better soft wares to do this and i’ll transfer it when time comes
however that said, i want to text them out before transferring,
< fonts >
MX TWENTY TWENTY is in a Javanese font and presents itself to be a thicker stroke and tightly packed together
HEX0SHERE is in a MingliU font, appearing more slender, both thom and i in the past have agreed we like this one more and i feel this is still the case, i just wanted to confirm, i then saved each layer as a png so that they would have transparent backings
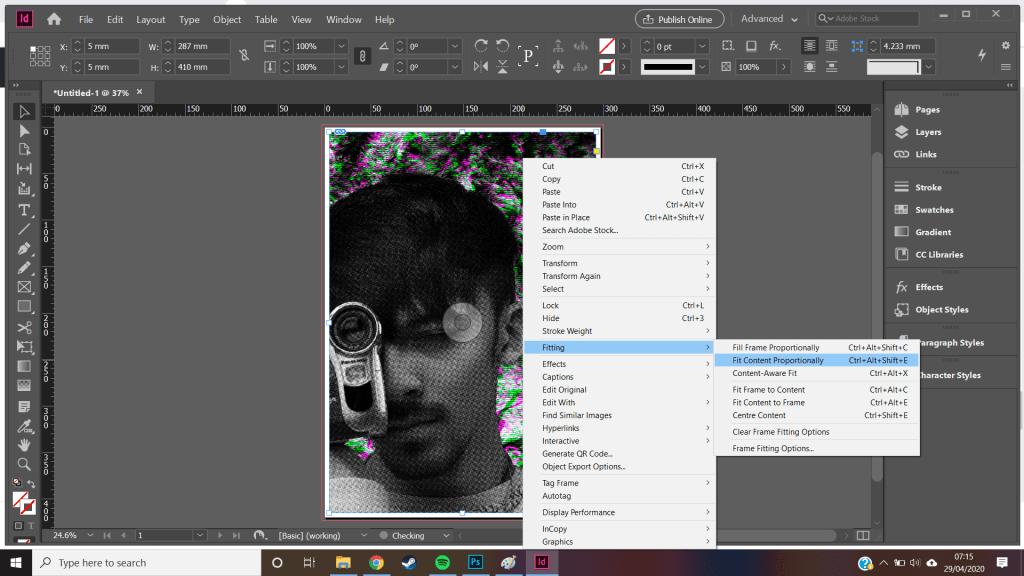
opening my poster into indesign i created a A3 document with plain white background and layered my two pngs on top. using control+shift+alt+E i was able to fit the poster to my designed frame as the Photoshop file was bigger.
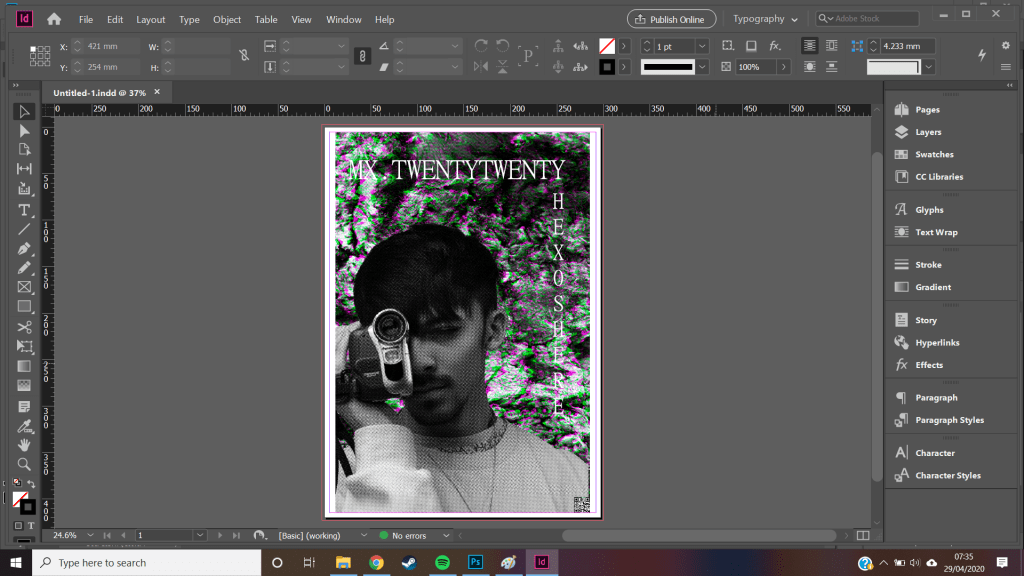
i was then able to introduce the MingliU typeface, i oppted for white as this had a higher contrast from the background than a black font, this helped provide clarity between the two making the words more readable. i set the MX to a font size of 80 to create a higher archy compared to the 65 of HEX0, this made it more domian as it hangs over the text below since this poster is meant to advertise the mixtape, thom already has a small fanbase and is kind of known within his community so this became less important. this also works as the eye reads right to left, top to bottom, HEX0 the name becomes less important
the MX also snapped to a grid allowing me to centre the text and then use that as a guide line to place hexo at the end of the text. this sizing difference also helps separate the two them as individuals so that the reader doesnt confuse it as YHEX0-. it makes it flow a lot nicer, as well as framing thom to be the centre of the of the picture even though he is off centre
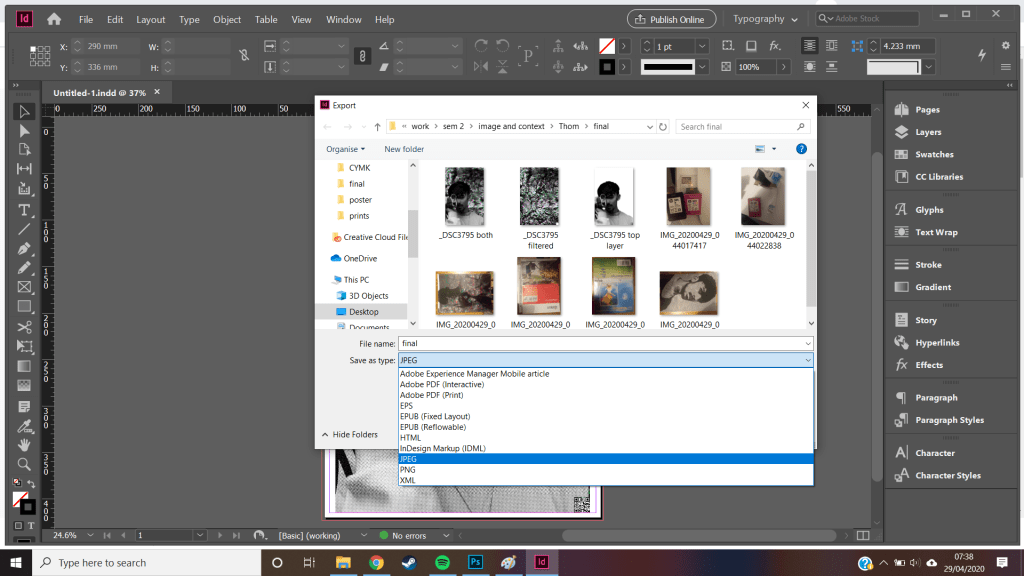

using control+E to export my final decided to make it a jpeg so it was widely usable on social platforms
over all i dont feel ive fully achieved all the goals i set out to do for my client, and i probably realised this early in the project.
thom has a such clear idea on his personal branding and identity because it comes from his own mind he has full creative control over his identity and knows where he wants to take his own work. this body of work is an interesting look into how two minds come together to produce new ideas. a lot of thoms work is digital and i tried to produce something that was physical, this meant it might not have reached thoms wider audience and only really hit locally. however because of my printer errors i know have a transferable file rather than a one of production material
during this project ive produced a lot of practical work however i have been dealing with a lot of behind the scenes stuff because of this my written work has suffered by the sidelines and isnt where i would hope it to be, there have also been a range of hiccups that cant be ignored like covid 19, and needing to move multiple times within this.
however in terms of creatively i am happy with the product i produced even though so much more could have been added and worked into it.
‘ I think the colour scheme works great by removing all colour from the foreground, but maybe some blending could have been done to make the photo and background feel more connected ‘ – thom morley – hexoshere
